IPhone LogoIPad LogoLight Logo
  • Home
  • Blog
  • About
  • Contact
Planning Upgrades Vehicle
by Benjamin Still

Project III: Install a power inverter

28th June 2014
1
0
Share

At this stage, the number appliances requiring charging in our technological arsenal has become somewhat of an issue. So rather than visiting coffee shops and public libraries carrying arm loads of laptops, phones and camera chargers—we decided a power inverter was in order.

It turns out, for us, the easiest way to shop for anything in America is to start with Amazon. So we jumped online and shopped for a cheap inverter with acceptable reviews that would be able to handle the load.

We settled on a Power Bright PW1100-12, mostly because it was a cool blue colour and had an lcd display …

Power Bright PW1100-12.

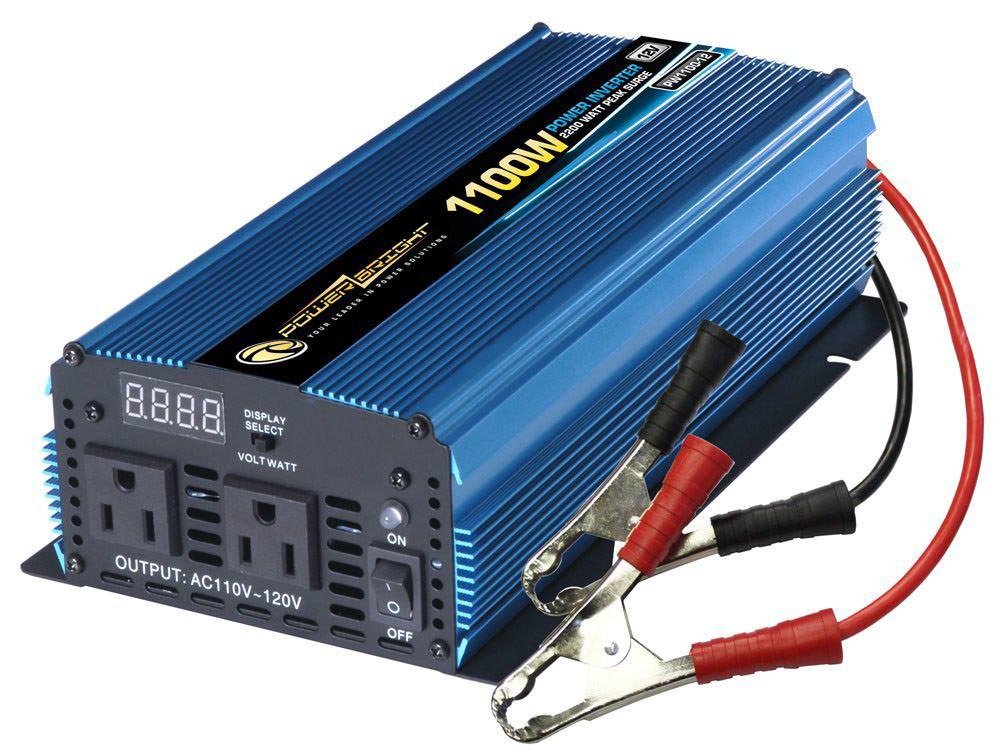
… it also had a sufficient amount of ticks in the reference chart.

Reference guide.
Reference guide.

But most importantly, it had 3.8 out of 5 stars in the reviews.

Having wired stereo equipment in cars before, I figured installation would be fairly straight forward. And it was, it was finding and buying the wire and bits and pieces that proved to be the hardest. I had incorrectly assumed Radioshack was much like Dick Smith in New Zealand, cable sold per meter, individual fittings, fuses etc. Nope, we had to go slightly more industrial. We ended up going to a outfit called Polar Wire. Which turned out to be ideal as they had everything on the shelf and put together the cable for us professionally.

Parts to be installed.

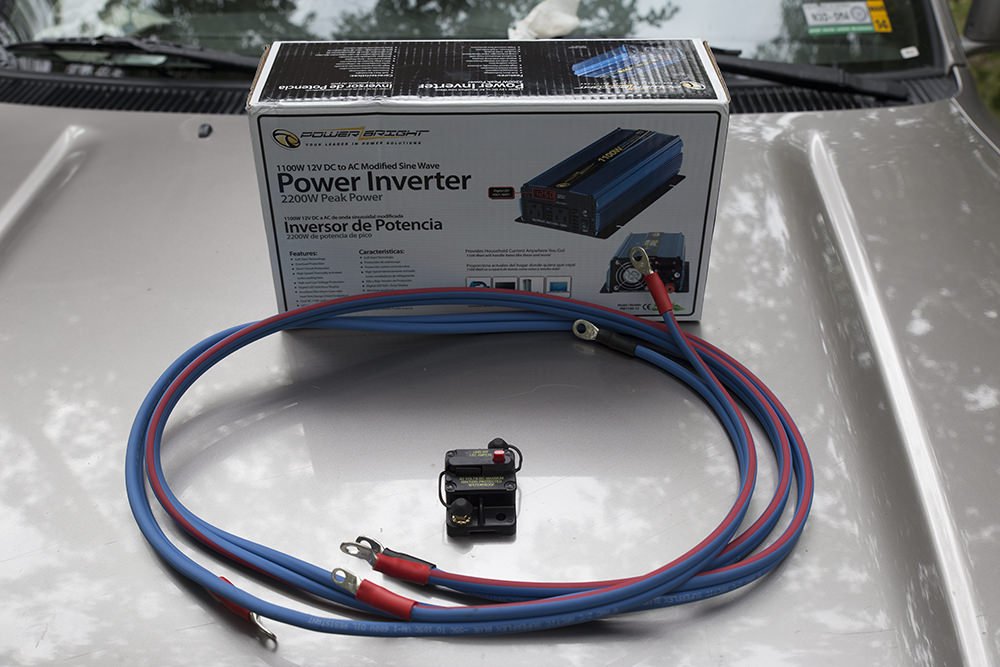
Now, I know what your thinking, “Thats some thick cable!” … well I had decided we needed #6 gauge cable but when we turned up at Polar Wire they had sold out of normal #6 wire, however they did have paired arctic grade #6 … when in Rome. This means the inverter cable will operate between -55 and 105 degrees … but at -55 it will be the only thing operating.  I originally wanted an inline fuse but instead opted for a waterproof circuit breaker.

See also  Power Bright PW1100-12 Power Inverter | Gear Review
Circuit breaker installed.

Although it was slightly more expensive it would mean we wouldn’t have to carry replacement fuses… and it’s waterproof!

Fortunately, there was a large enough grommet with plenty of room to poke this cable through into the cab. I then ran it down the side of the drivers side and under the drivers seat, under the carpet, and cut a hole right under where the inverter will be mounted.

Grommet in the firewall and gap in cable for circuit breaker.

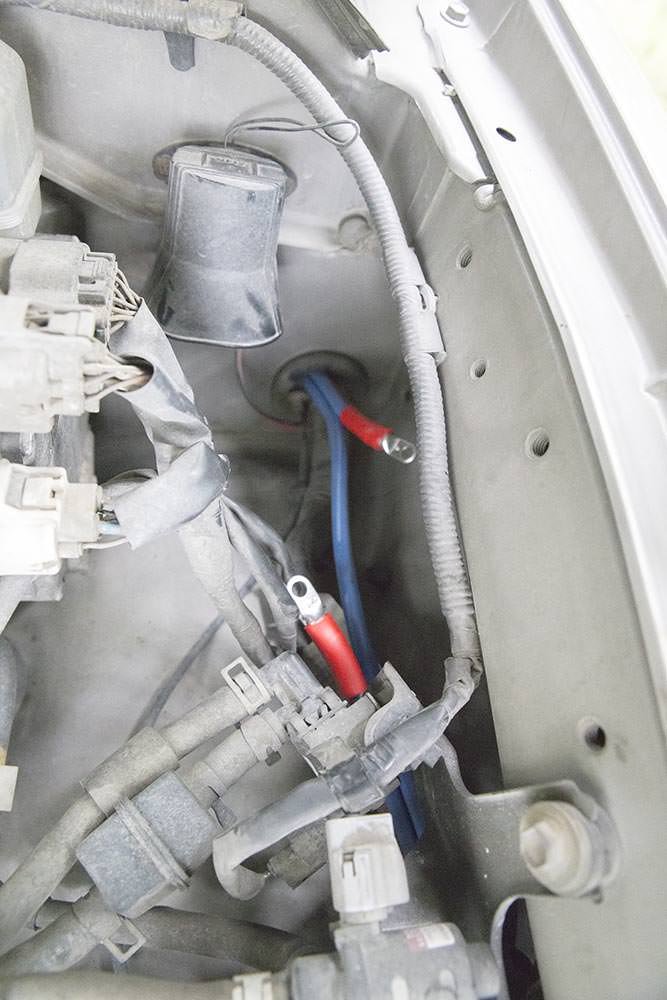
The inverter is wired directly to the battery until our second battery is installed then it will be swapped over to that.

Cables attached to battery.

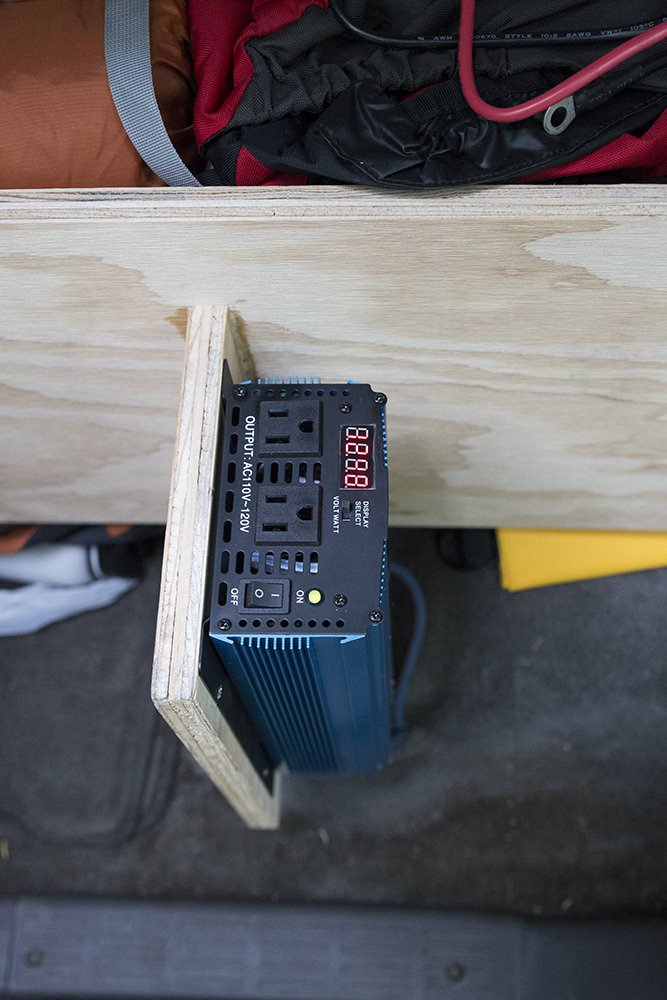
Must have done it right if the green light is on.

Inverter on!
Inverter on!


cableinverterpowerpower bright
Related Posts

Colorado is closed. Part 1.

25th January 2015
1
0

Having spent far too long faffing about in Utah and Nevada our time in Colorado was short. (That was about the only thing that was short in Colorado—everything else appeared to be of record-breaking height.)

After visiting Dinosaur National Monument on the Utah side, we had been considering driving to Echo Park on the Colorado side of the park—but we were told that the road was closed. No surprise there, that had happened a lot lately.

So we settled in for a night camping at Green River, still in Utah. Turns out that we wouldn’t have been driving any back roads the next day, even if they had been open. Ben had decided to take the opportunity to change the brake pads while we were stopped there.

(more…)
See also  Onboard Shower

How we tricked ourselves into saving money—Saving for long term travel: Part Two

3rd April 2014
2
0

As you saw in Part One: Not winning the lottery we aren’t especially awesome at saving. But due to the fact that we have not as yet won the lottery it has proven to be the only way that we can afford a trip like the one we have planned.

Saving money is far from being glamorous. It is actually rather dull. To be honest, we wouldn’t have done it if we hadn’t tricked ourselves into it.

So here follows our Top 10 tips to trick yourself into saving:

(more…)
See also  First project: Build a storage/sleeping platform.
1 Comment
    TJ says: Reply
    June 30th 2014, 7:52 am

    nice story Ben, keep them coming

Leave a Reply Cancel reply

Your email address will not be published. Required fields are marked *

Newsletter Signup

Categories

  • Australia
  • Beer
  • Belize
  • Bolivia
  • Budgeting
  • Canada
  • Central America
  • Cook Islands
  • Cuba
  • CVT tent
  • Digital Nomad
  • Ecuador
  • Featured
  • Gear Reviews
  • Guatemala
  • Hiking
  • Humour
  • Kaylee
  • Mexico
  • New Zealand
  • North America
  • Oxfam Trailwalker
  • Peru
  • Photo Friday
  • Planning
  • Smoke Chaser
  • South America
  • South East Asia
  • Statistics
  • Travel
  • Uncategorized
  • United States
  • Upgrades
  • Vehicle
  • Video
First project: Build a storage/sleeping platform.by Benjamin Still / June 26, 2014
Trapped in bear countryby flightlesskiwi / June 30, 2014

Stay In Touch

Subscribe for the latest updates.

Instagram

© 2020 FlightlessKiwis . All rights reserved.

  • Home
  • About
  • Blog
  • Contact
  • Privacy

Recent Posts

  • Digital nomads
    by flightlesskiwi / 21st April 2015
  • On the road to ruin (s)
    by flightlesskiwi / 12th October 2015
  • Why we left too soon for the April Sun in Cuba
    by flightlesskiwi / 3rd September 2015

Looking four our old blog?

We’ve archived our stories and photos from our three year road trip from Deadhorse, Alaska, USA to Ushuaia, Tierra del Fuego Argentina here:

PANAM BLOG

Smoke Chaser logo
Flightless Kiwis logo